Christmas is just two weeks away, but it isn't too late to bring a little handmade to your Christmas list. I've been on the receiving end of such significant creations, as well as the giving of lovingly handmade. Regardless of what side you are on this Christmas, handmade just feels lovely, doesn't it? My talented cousin, Grace, is here today to share a fabulous tutorial with you for a necklace that would make any girl swoon.
[caption id="" align="alignnone" width="600.0"] DIY Pearl statement necklace[/caption]
the pearl statement necklace tutorial
grab your jewelry-making supplies and get ready to craft this gorgeous pearl necklace!
if you don't have any, grab a friend and split the materials, because the jewelry findings usually come in large quantities!
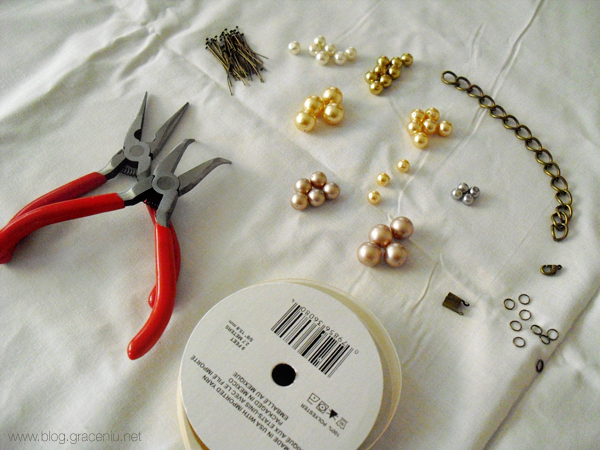


what you will need:
+ jewelry pliers (here)
+ your choice of ribbon (i used 1/2" cream colored ribbon)
+ about 40 antique bronze finish headpins at 35-40mm in length (here or here)
+ pearls in various sizes and colors (here) -- i used the swarovski pearls in gold & powder almond, and also a few i bought from online and the craft store
+ about a 6-7 inch length of antique bronze chain (here) -- make sure the links are large enough where you can hang your pearls from them
+ 1 antiqued bronze lobster claw clasp (here)
+ a few antiqued bronze jump rings (here)
+ 2 antiqued bronze ribbon clamps (here or here)


[1] take a pearl and insert a headpin through the holes, as shown.
[2] then take one of your jewelry pliers (whichever you feel most comfortable using, i alternate between the bent-nose pliers and the needlenose pliers) and start shaping the open end of the headpin into a shepherd's hook shape, or the shape of your closet hanger, if that helps!

[3] your headpin should look like this. don't worry if it's not perfectly shaped, we just need to get it into this shape to prepare to hook it onto one of the chain links.


[4] hook your pearl & headpin onto one of the chain links and use your pliers to close up the hook so that the end of the headpin meets the section where your hook bends backwards. you're basically looping the headpin around the chain link.

[5] grab another pearl and headpin and repeat the process. to vary the lengths of your headpins to create visual interest, you can use wire cutters to trim your headpins. some pliers come with a built-in wire cutter (mine is in the middle of my pliers), but if not, you can always get a separate one.

[6] continue adding pearls in the same way, randomly. a helpful tip is to scatter the bigger pearls closer to the middle of the necklace, and just one or two bigger ones near the ends. it helps if you put the pearl on the headpin and then hold it up to your work to envision where you want to put it before you actually put it on. i am choosing to keep the last link on each end empty, to leave room for the ribbon later on.
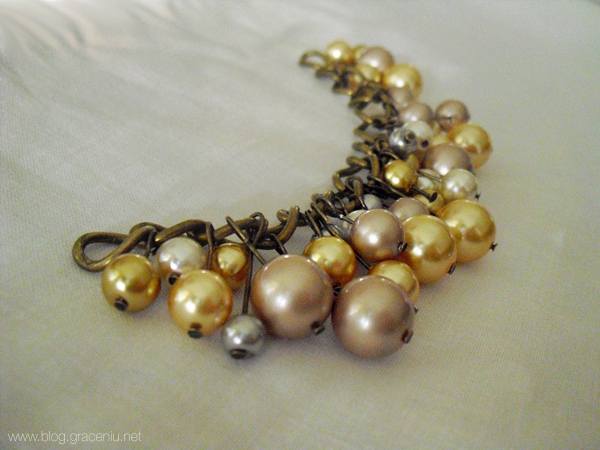
[7] don't feel forced to use all the pearls and headpins you have, or alternatively, don't feel limited to only use a certain amount. continue adding until you are satisfied with how it looks. mine turned out like this!
[8] before cutting your ribbon, hold your pearl-filled chain up to your neck and decide how high/low you would like to wear it. measure the length of the distance from the end of one side of the chain to the back of your neck. double that, add an extra 1/2 inch for the knot, and cut two pieces of ribbon that length.


[9] take one piece of ribbon and thread one end through the empty link on one end of your chain. make both ends of the ribbon meet, and tie a simple overhand knot, making sure that the knot is secured near the actual chain. you should have two long, open ends of ribbon. repeat with the other ribbon on the other side of the chain.

[10] take one of your ribbon clamps and open it up a little so that the ribbon will be able to fit inside. this clamp is going to get folded over your ribbon ends so that they don't fray, and so that it can connect to your clasp. use your pliers if necessary.
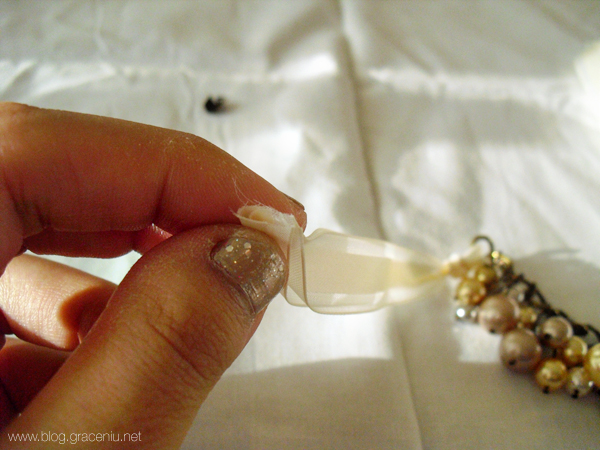
[11] take both your ribbon ends together and fold the ends in half so that it's easier for them to fit into the ribbon clamp. wedge the ribbon ends inside the clamp (you can use your needlenose pliers to push the ribbon ends in, i just couldn't because i was taking pictures with my right hand!)


[12] fold one side of the clamp over the ribbon ends (use your pliers to help you), and then making sure the ribbon is mostly covered by the first flap of the clamp, go ahead and fold the second flap over. your ribbon ends should now be secured inside the clamp!
[13] repeat the process on the other side, so that you have two clamps, one on each end of your necklace.


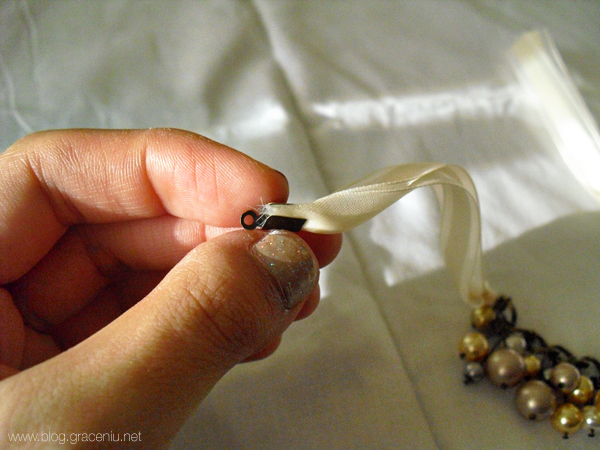
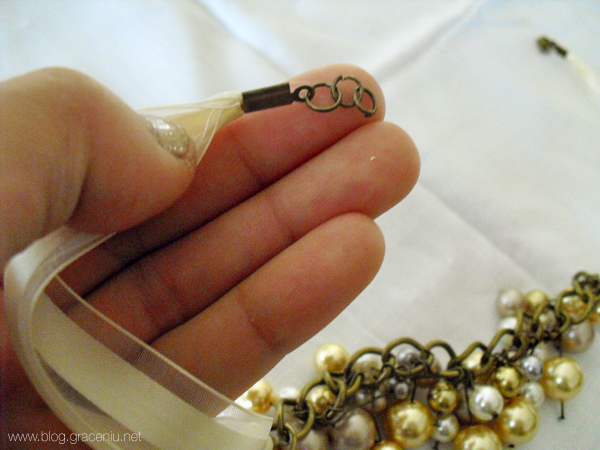
[14] take your pliers and a jump ring, and open the jump ring.
[15] hook the jump ring into the small hole on the ribbon clamp.
[16] before closing the jump ring, slip the lobster clasp onto the same jump ring, and then use your pliers to close the ring.
[17] repeat the same process on the other ribbon clamp end, but instead of putting another lobster clasp on, add a few extra jump rings so that you can adjust the length of your necklace if needed.

you're finished! enjoy your new necklace that you can be proud to tell people you made yourself, and watch the compliments roll in! :)
***************************************
Thank you so much for sharing your talents here today, Grace! Visit Grace at her fashion and design blog.